We are excited to share our new monthly column with you! “Pinterest Actually” will share projects made from actual pins on Pinterest by our columnist Ashley. We hope you enjoy it and can make some great projects with what she’s found works… and doesn’t work!
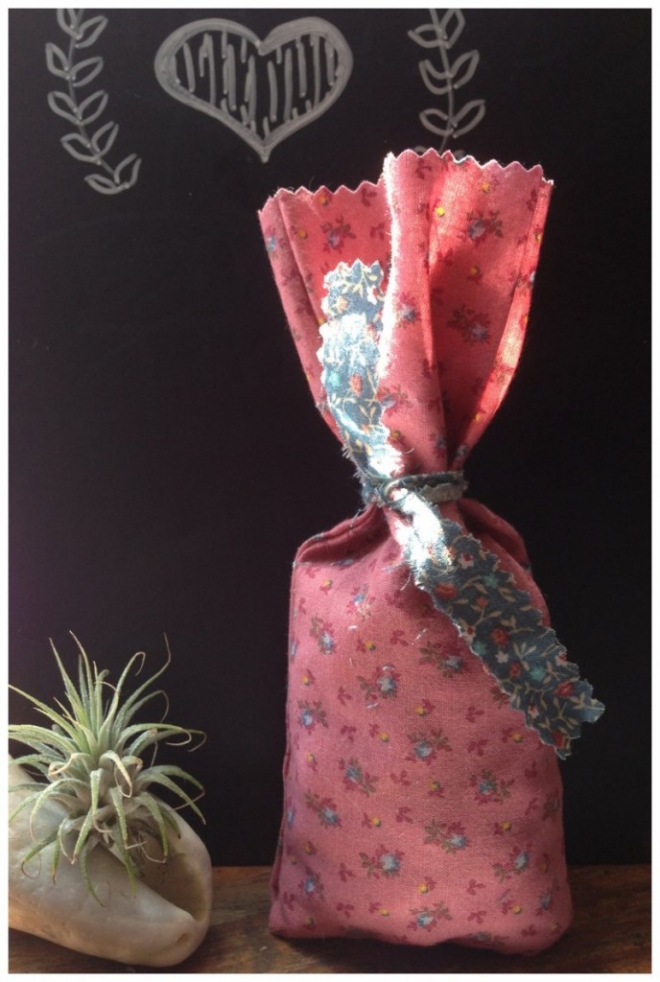
For my first official Pinterest report, I wanted to try out this “Easy No-Sew Favor Bag” that had long been pinned to my DIY board just waiting for the right occasion to present itself. Then I realized that I don’t throw parties that involve favors and I’m already married, but the bags would be perfect for a wedding with a handmade feel or sweet baby shower, depending on the fabrics you choose. This project is especially suitable for those crafty ladies who may not have a great track record with needle and thread, but know their way around an ironing board.

My creative method
TIPS
In terms of buying fabric if you don’t have a bunch of random scraps lying around like I do, I’d recommend going crazy in the “fat quarters” section of Joanne’s or if you’re up for an adventure, Discount Fabrics USA in Thurmont. You’ll be cutting 16.5” x 5” strips of fabric folded in half for this project and fat quarters are 18” x 22” pieces of pre-cut fabric, perfect for small projects like this.

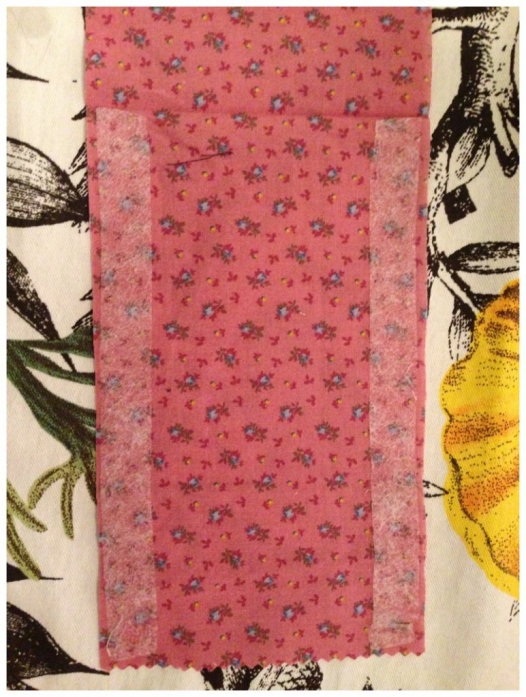
Fusible webbing tape and I have never really seen eye to eye, so I was admittedly skeptical going into this project. In the original tutorial, the author makes it sound like a breeze, but I know better. However, this could just be my hatred of irons talking. Either way, if you haven’t worked with the stuff before, here are a few tips:
• Make sure the webbing does not touch the iron. You want it sandwiched between the fabric and double check that there aren’t any pieces sticking out. Just trust me on this.
• Make sure your iron is nice and hot – otherwise, the webbing won’t actually fuse. Then follow the directions on the box, as each brand is a little different.
• Wait for the fabric to cool completely before manipulating it or trying to turn the bag right side out.
MODIFICATIONS
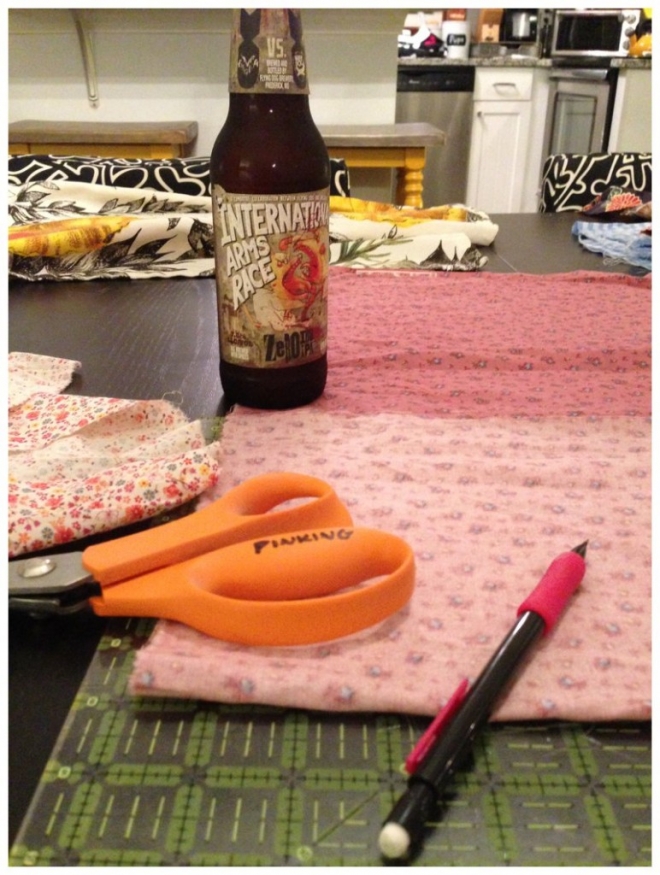
I ended up making two modifications to the tutorial. Once complete, I thought the bag looked awkwardly tall. I cut off about an inch from the top and thought it looked much more balanced. Also, for the tie, I used pinking shears since I could see it fraying all over the place if cut with regular scissors.
If you don’t own pinking shears and don’t want to drop the $12.99 on a cheap pair, I’d recommend at least buying some Fray Check, a clear liquid that dries hard to also prevent fraying.
RESULTS
From start to finish after setting up, it took me about 10 minutes to complete one bag. I’m happy with the outcome in that it actually resembles the finished product in the tutorial. Personally, I still would prefer a sewing machine over fusible webbing, but it’s all about what you’re comfortable with. If you don’t mind sewing, it would probably be less messy and take less time to go ahead and sew the bags. The good news if you don’t sew is that you can’t really tell that these bags aren’t stitched, unless you have a creepy party guest who’s checking out the finish work on the inside of your favor bags, in which case you probably shouldn’t be friends with that person anymore.
Pinterest Actually by Ashley Henley
Ashley loves all things crafty and is thrilled that handmade is becoming cool again. She takes a DIY approach to most things and has learned to re-frame any failures as adding “character” to the final product. By day, Ashley is a marketing writer/editor in the healthcare industry and shares a tiny old house in downtown Frederick with her husband, three dogs, and three cats.
Hey, if you have your eye on a DIY project that seems too good to be true, leave a comment below as a future Pinterest Actually project suggestion!


